1. Introduction
Setting up HTTPS/SSL for your WordPress site used to be complicated, pricey, and downright frustrating. But not anymore. If you’re running a WordPress site in 2025, securing it with HTTPS is no longer optional—it’s essential.
So what exactly is HTTPS/SSL? Let’s break it down. HTTPS stands for HyperText Transfer Protocol Secure. It’s the secure version of HTTP, the protocol over which data is sent between your browser and the website you’re connected to. SSL (Secure Sockets Layer), or more accurately TLS (Transport Layer Security), is the technology that encrypts this data.
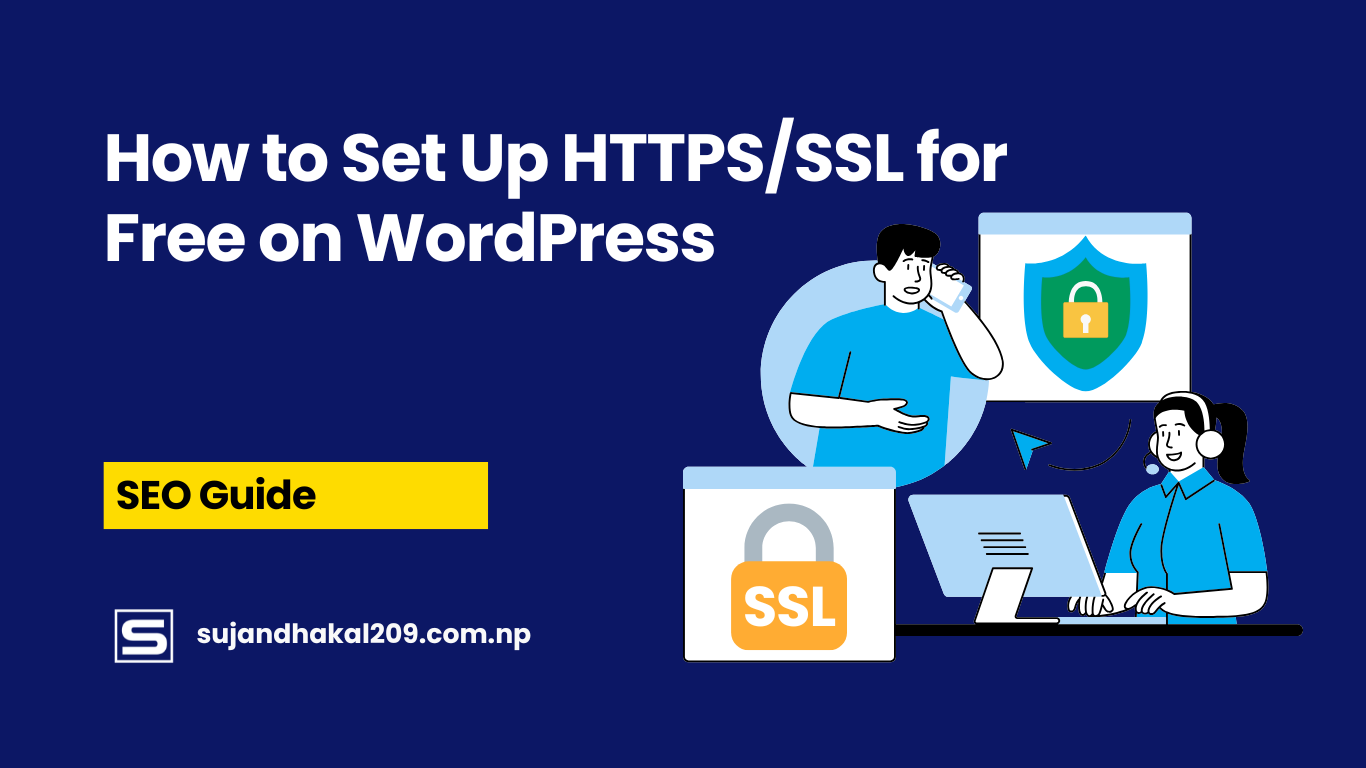
When you see that little padlock in your browser’s address bar, that’s SSL at work. It means any data shared with the website—like login info or credit card details—is encrypted and protected from hackers.
But it’s not just about security. Google officially confirmed years ago that HTTPS is a ranking signal. That means if your site isn’t secure, you’re already behind your competitors in search results. Plus, browsers like Chrome flag non-HTTPS websites as “Not Secure,” scaring away visitors and tanking trust.
In this guide, we’re diving deep into everything you need to know to secure your WordPress site with HTTPS—without spending a dime. Yes, we’re talking 100% free SSL. We’ll show you how to install it, configure it, and make sure it works perfectly.
2. Benefits of Setting Up HTTPS/SSL on WordPress
Still wondering if HTTPS is worth the trouble? Here’s a reality check—it absolutely is. Let’s look at why setting up HTTPS/SSL on your WordPress site is one of the best moves you can make:
a. Boosts Website Security
When you install an SSL certificate, you’re encrypting data transferred between your site and its visitors. That means if someone submits a form or logs in, their information is safe. This is especially crucial for e-commerce sites or any site that collects user data.
b. Improves Your Google Rankings
Google has been favoring HTTPS websites since 2014. Sites with SSL certificates get a slight ranking boost, all things being equal. So if you’re aiming to rank on page one (and who isn’t?), HTTPS is a must-have.
c. Builds Visitor Trust
Let’s be honest—would you enter your email address on a site that says “Not Secure” in the browser bar? Probably not. Users feel safer on HTTPS sites. The padlock icon is a trust signal that your site is legitimate and secure.
d. Enables Modern Web Features
Want to use advanced features like HTTP/2, Progressive Web Apps, or geolocation? Many of these require a secure connection. Without HTTPS, you’re missing out on what modern web tech has to offer.
e. Required for Online Payments
If you’re running a WooCommerce store or accepting payments through your site, HTTPS isn’t just a good idea—it’s required by all major payment processors, including Stripe and PayPal.
In short: HTTPS = security + SEO + trust + features. That’s a win-win-win-win.
3. Free vs Paid SSL Certificates: What’s the Difference?
Not all SSL certificates are created equal—but for most WordPress users, a free certificate is more than enough.
a. Free SSL Certificates (e.g., Let’s Encrypt)
Let’s Encrypt is the most popular provider of free SSL certificates. It’s backed by heavyweights like Mozilla, Google, and the EFF. The certificates are domain-validated (DV), meaning they confirm ownership of the domain but not your business identity.
Pros:
- 100% free
- Quick to issue (minutes, not days)
- Automated renewal
- Perfect for blogs, portfolios, and small business sites
Cons:
- Valid for 90 days (though most tools auto-renew)
- Not ideal for enterprise or high-risk sites
b. Paid SSL Certificates
Paid certificates can be domain-validated (DV), organization-validated (OV), or extended validation (EV). They come with added features like warranties, trust seals, and better support.
Pros:
- Added validation and credibility
- Useful for big brands or e-commerce
- Extended validity and warranties
Cons:
- Cost can range from $30 to $300+ per year
- Overkill for most personal or small business sites
Bottom Line: If you’re running a typical WordPress site and just want to secure it without spending money, a free SSL from Let’s Encrypt is perfect.
4. Prerequisites Before Setting Up SSL on WordPress
Before diving into the actual setup, let’s make sure you’re ready. Here are a few things to check:
a. You Have a Domain Name and Web Hosting
This one’s obvious. You need a registered domain name (like mycoolsite.com) and hosting that supports WordPress.
b. Your Hosting Provider Supports Free SSL
Not all web hosts support Let’s Encrypt or other free SSL options out of the box. Some might charge you unnecessarily. Look for hosts like SiteGround, Bluehost, or Hostinger—they all offer free SSL integration.
c. Backup Your Website First
Before making any major change—especially one that affects your site’s configuration—always back up. You can use plugins like UpdraftPlus or your host’s built-in tools.
d. Update WordPress, Plugins, and Themes
Make sure everything’s up to date. Outdated software can cause conflicts or security issues when switching to HTTPS.
5. How to Get a Free SSL Certificate (Let’s Encrypt)
Let’s Encrypt has revolutionized internet security by offering SSL certificates at no cost. Here’s how it works:
a. What is Let’s Encrypt?
Let’s Encrypt is a non-profit Certificate Authority (CA) that provides free SSL certificates for websites. It’s automated, secure, and well-supported by most hosting providers.
b. Tools to Get Started with Let’s Encrypt
There are several ways to implement Let’s Encrypt on your WordPress site:
- Hosting Control Panel Integration: Many hosts offer one-click installation.
- Certbot: A command-line tool that automates the entire process. Best for VPS and advanced users.
- ZeroSSL: A web-based tool that also offers free SSLs, and it’s beginner-friendly.
Steps (for most hosting providers):
- Log into your hosting control panel (cPanel, Plesk, etc.)
- Look for “SSL” or “Let’s Encrypt” section.
- Select your domain and click “Install SSL.”
- Wait for the confirmation.
- Done—your site is now secured with HTTPS!
6. Installing Free SSL on WordPress via Hosting Providers
Your hosting provider plays a crucial role in how easily you can install a free SSL certificate. Fortunately, many popular WordPress hosts have made this process dead simple.
a. One-Click SSL with Top Hosting Providers
Here’s how it works with some major names:
- SiteGround: Go to “Site Tools” > “Security” > “SSL Manager.” Choose Let’s Encrypt and install with a click.
- Bluehost: Use the “My Sites” section, click “Manage Site,” go to “Security,” and enable the free SSL.
- Hostinger: Head to “SSL” in your dashboard, select the domain, and hit “Install.”
- DreamHost: Navigate to “Domains” > “Secure Hosting,” and activate Let’s Encrypt from there.
In most cases, installation takes only a few minutes and doesn’t require any technical knowledge.
b. Using cPanel to Install SSL
If your host uses cPanel (common for many providers), follow these steps:
- Log in to cPanel.
- Find the “SSL/TLS” section.
- Click “Manage SSL Sites.”
- Choose the domain and install the free certificate.
- Confirm installation and test your site.
c. Automatic Renewal and Expiry Alerts
Let’s Encrypt certificates are valid for 90 days, but most hosting providers set up auto-renewal. Still, it’s wise to monitor expiry alerts and ensure automatic renewal is working properly.
7. Enforcing HTTPS on WordPress
Once your SSL certificate is active, your job isn’t done. You need to force all traffic to use HTTPS—otherwise, some visitors may still land on the non-secure version of your site.
a. Update WordPress Address
Go to your WordPress dashboard:
- Click on “Settings” > “General.”
- Change both “WordPress Address (URL)” and “Site Address (URL)” to include https instead of http.
Example:
From: http://example.com
To: https://example.com
b. Redirect HTTP to HTTPS Automatically
You can set up a redirect using your hosting control panel or a plugin. Here are two popular ways:
1. .htaccess Method (for Apache servers)
Edit your .htaccess file (located in your root directory) and add:
<IfModule mod_rewrite.c>
RewriteEngine On
RewriteCond %{HTTPS} !=on
RewriteRule ^(.*)$ https://%{HTTP_HOST}%{REQUEST_URI} [L,R=301]
</IfModule>
2. WordPress Plugins
Use plugins like:
- Really Simple SSL – Automatically detects your settings and configures your site to run over HTTPS.
- WP Force SSL – Redirects all traffic to the secure version of your site.
Plugins are beginner-friendly and handle edge cases, like mixed content issues.
8. Fixing Mixed Content Issues
After switching to HTTPS, you may run into “mixed content” warnings. These happen when your site tries to load resources (images, scripts, stylesheets) over HTTP on an HTTPS page.
a. What Causes Mixed Content?
Common culprits include:
- Hardcoded HTTP URLs in themes or plugins
- Old media uploads with HTTP links
- External resources (like fonts or embeds) loaded over HTTP
b. How to Fix Mixed Content
1. Use a Plugin
- Really Simple SSL not only enforces HTTPS but also handles mixed content by dynamically fixing insecure URLs.
2. Update URLs in Your Database
Use a plugin like Better Search Replace or WP Migrate DB to update HTTP to HTTPS in your database.
Example:
- Search for:
http://yourdomain.com - Replace with:
https://yourdomain.com
Be careful—back up before making changes.
3. Manually Update Themes and Widgets
Inspect your theme files or widget content for hardcoded HTTP links and update them to HTTPS.
9. Testing Your SSL Setup
Now that everything’s configured, let’s test to make sure it’s working properly.
a. Browser Padlock Check
Open your site in a browser like Chrome and look for the padlock icon. Click it to verify that the connection is secure.
b. Use Online SSL Tools
Use these tools to test your certificate and HTTPS setup:
- SSL Labs’ SSL Test: https://www.ssllabs.com/ssltest/
- Why No Padlock?: https://www.whynopadlock.com/
- HTTPS Checker: https://www.httpschecker.net/
They’ll help you spot mixed content, expired certificates, or misconfigurations.
c. Monitor Certificate Validity
If you’re not using a plugin or host that handles automatic renewals, set a reminder to renew your certificate every 90 days.
10. Setting Up HTTPS on WordPress Multisite
Running a WordPress Multisite? SSL setup is a bit different but totally doable.
a. Use Domain Mapping for Subdomains or Subdirectories
If you’re using subdomains (site1.example.com) or subdirectories (example.com/site1), you’ll need to:
- Make sure SSL covers all subdomains (via a wildcard certificate).
- Update your network settings to enforce HTTPS.
b. Force HTTPS Across All Sites
Manually update site URLs in Network Admin > Sites or use a plugin like Really Simple SSL Multisite.
c. Consider Wildcard Certificates
A wildcard SSL (e.g., *.example.com) secures all subdomains under one certificate. Many hosting providers now support these for free through Let’s Encrypt.
11. Maintaining SSL Certificates on WordPress
Getting SSL set up is just the beginning. You need to maintain it to ensure your site stays secure and trusted by browsers.
a. Automatic vs Manual Renewal
Let’s Encrypt certificates expire every 90 days. If your hosting provider offers auto-renewal (and most do), you’re good to go. Just check occasionally to ensure it’s working.
If not, set a calendar reminder to renew it manually before expiration. Some tools like Certbot can automate this even on custom servers.
b. Keep WordPress Updated
SSL alone won’t protect your site from vulnerabilities. Regularly update:
- WordPress core
- Plugins
- Themes
An outdated site can still be exploited even if it uses HTTPS.
c. Monitor Site Health
Use tools like:
- Google Search Console: Detects security issues and crawl errors.
- UptimeRobot or Better Uptime: Notifies you if your site goes offline or if your SSL breaks.
- WP Security Audit Log: Monitors user activity and changes on your site.
Consistency is key to keeping your site safe, fast, and SEO-friendly.
12. Common HTTPS/SSL Issues and How to Fix Them
Even with the best setup, issues can crop up. Here’s how to troubleshoot the most common problems.
a. SSL Certificate Not Trusted
If browsers don’t trust your certificate, check:
- Whether it’s issued by a recognized authority like Let’s Encrypt
- If it’s expired or installed incorrectly
- Your hosting setup—some older servers don’t support modern encryption standards
b. ERR_SSL_PROTOCOL_ERROR
This is usually caused by:
- Improper SSL installation
- Conflicting plugins
- Firewall or CDN issues (e.g., with Cloudflare)
c. Too Many Redirects
This happens if you configure multiple HTTPS redirects—one via .htaccess and another via plugin or CDN. Stick to one method to avoid redirect loops.
d. Mixed Content Warnings
Covered earlier, but worth repeating. Use plugins and search-replace tools to fix old HTTP links.
e. Slow Loading After HTTPS
In rare cases, switching to HTTPS may slightly slow things down due to encryption overhead. Use HTTP/2 or a CDN like Cloudflare to speed things up.
13. Bonus: Using Cloudflare for Free SSL and Speed Boost
Cloudflare is a powerful tool that offers free SSL and performance enhancements for your WordPress site.
a. What is Cloudflare?
Cloudflare is a CDN (Content Delivery Network) that also offers security and DNS management. It includes a free SSL certificate with edge-level encryption.
b. How to Use Cloudflare for SSL
- Sign up at cloudflare.com
- Add your website and verify DNS records
- Set SSL/TLS mode to “Full” or “Flexible”
- Enable “Always Use HTTPS” and “Automatic HTTPS Rewrites”
c. Benefits of Using Cloudflare
- Free SSL without messing with your server
- Protection from DDoS and brute force attacks
- Faster global page loads
- Analytics and threat detection
Cloudflare is ideal for non-technical users or anyone wanting extra protection and speed.
14. SEO Considerations After Moving to HTTPS
Switching to HTTPS isn’t just about security—it impacts your SEO, too. If done wrong, it can hurt your rankings. Here’s how to avoid that.
a. Update Google Search Console
- Log in and add your https:// version as a new property
- Submit your updated sitemap (e.g.,
https://yourdomain.com/sitemap.xml)
b. Update Google Analytics
In Admin > Property Settings, update the default URL to HTTPS.
c. Redirect All URLs Properly
Use 301 redirects from HTTP to HTTPS. This ensures search engines transfer link equity and rankings to the new secure version.
d. Resubmit Sitemaps and Disavow Files
If you’re using disavow files or submitting XML sitemaps, make sure they reference HTTPS URLs.
e. Monitor Rankings and Indexing
Use tools like Ahrefs, SEMrush, or even Google Search Console to track if your HTTPS pages are getting indexed properly.
15. Final Thoughts: Why You Should Secure Your Site Today
Setting up HTTPS/SSL for free on WordPress has never been easier—and the benefits are enormous. In 2025, it’s no longer a nice-to-have; it’s an essential part of building a trustworthy, Google-friendly, and user-safe website.
You’ve got all the tools at your fingertips—from free SSL providers like Let’s Encrypt to easy integrations via your hosting provider or Cloudflare. No excuses anymore.
Whether you’re a blogger, a small business owner, or an online entrepreneur, securing your site with HTTPS gives you a competitive edge in both SEO and credibility.
Don’t wait until your visitors see a “Not Secure” warning. Set it up today, follow this guide step by step, and enjoy a safer, faster, more respected website.
Conclusion
If you’re serious about running a successful WordPress site, HTTPS is non-negotiable. With the help of free tools, intuitive hosting dashboards, and powerful plugins, installing an SSL certificate is now something anyone can do—no coding required.
It boosts your SEO, protects your users, and makes your site future-proof. Start with Let’s Encrypt, enforce HTTPS, clean up mixed content, and you’re golden.
By following this guide, you’re already ahead of the game. Go secure your site—and never look back.
FAQs
1. Do I really need HTTPS if I don’t collect payments or user data?
Yes! HTTPS improves SEO, boosts credibility, and prevents browser warnings—even if your site is just a blog.
2. Is free SSL from Let’s Encrypt safe?
Absolutely. It uses the same level of encryption as paid certificates and is trusted by all major browsers.
3. What happens if I don’t renew my SSL certificate?
Your site will display a security warning, and users might leave immediately. Search engines might even de-rank it.
4. Will HTTPS make my website faster or slower?
Modern setups (especially with HTTP/2 and CDN support) actually make HTTPS websites faster than their HTTP counterparts.
5. Can I switch back to HTTP after setting up HTTPS?
Technically, yes—but you shouldn’t. It will harm your SEO, trust signals, and user experience.


